If you ever need inspiration for learning to ski then look no further than Red Bull TV’s glossy ski movies where people are dropped from helicopters for the ‘ride of their lives’ down remote mountain sides. It's good to have ambition, but for a more realistic source of inspiration for learning to ski, then you must watch the 1987 BBC Documentary ‘On The Piste’. Documenting the spills and thrills of a week on the slopes it shows that learning to ski is for old and young alike, and is often accompanied by a lot of laughter!
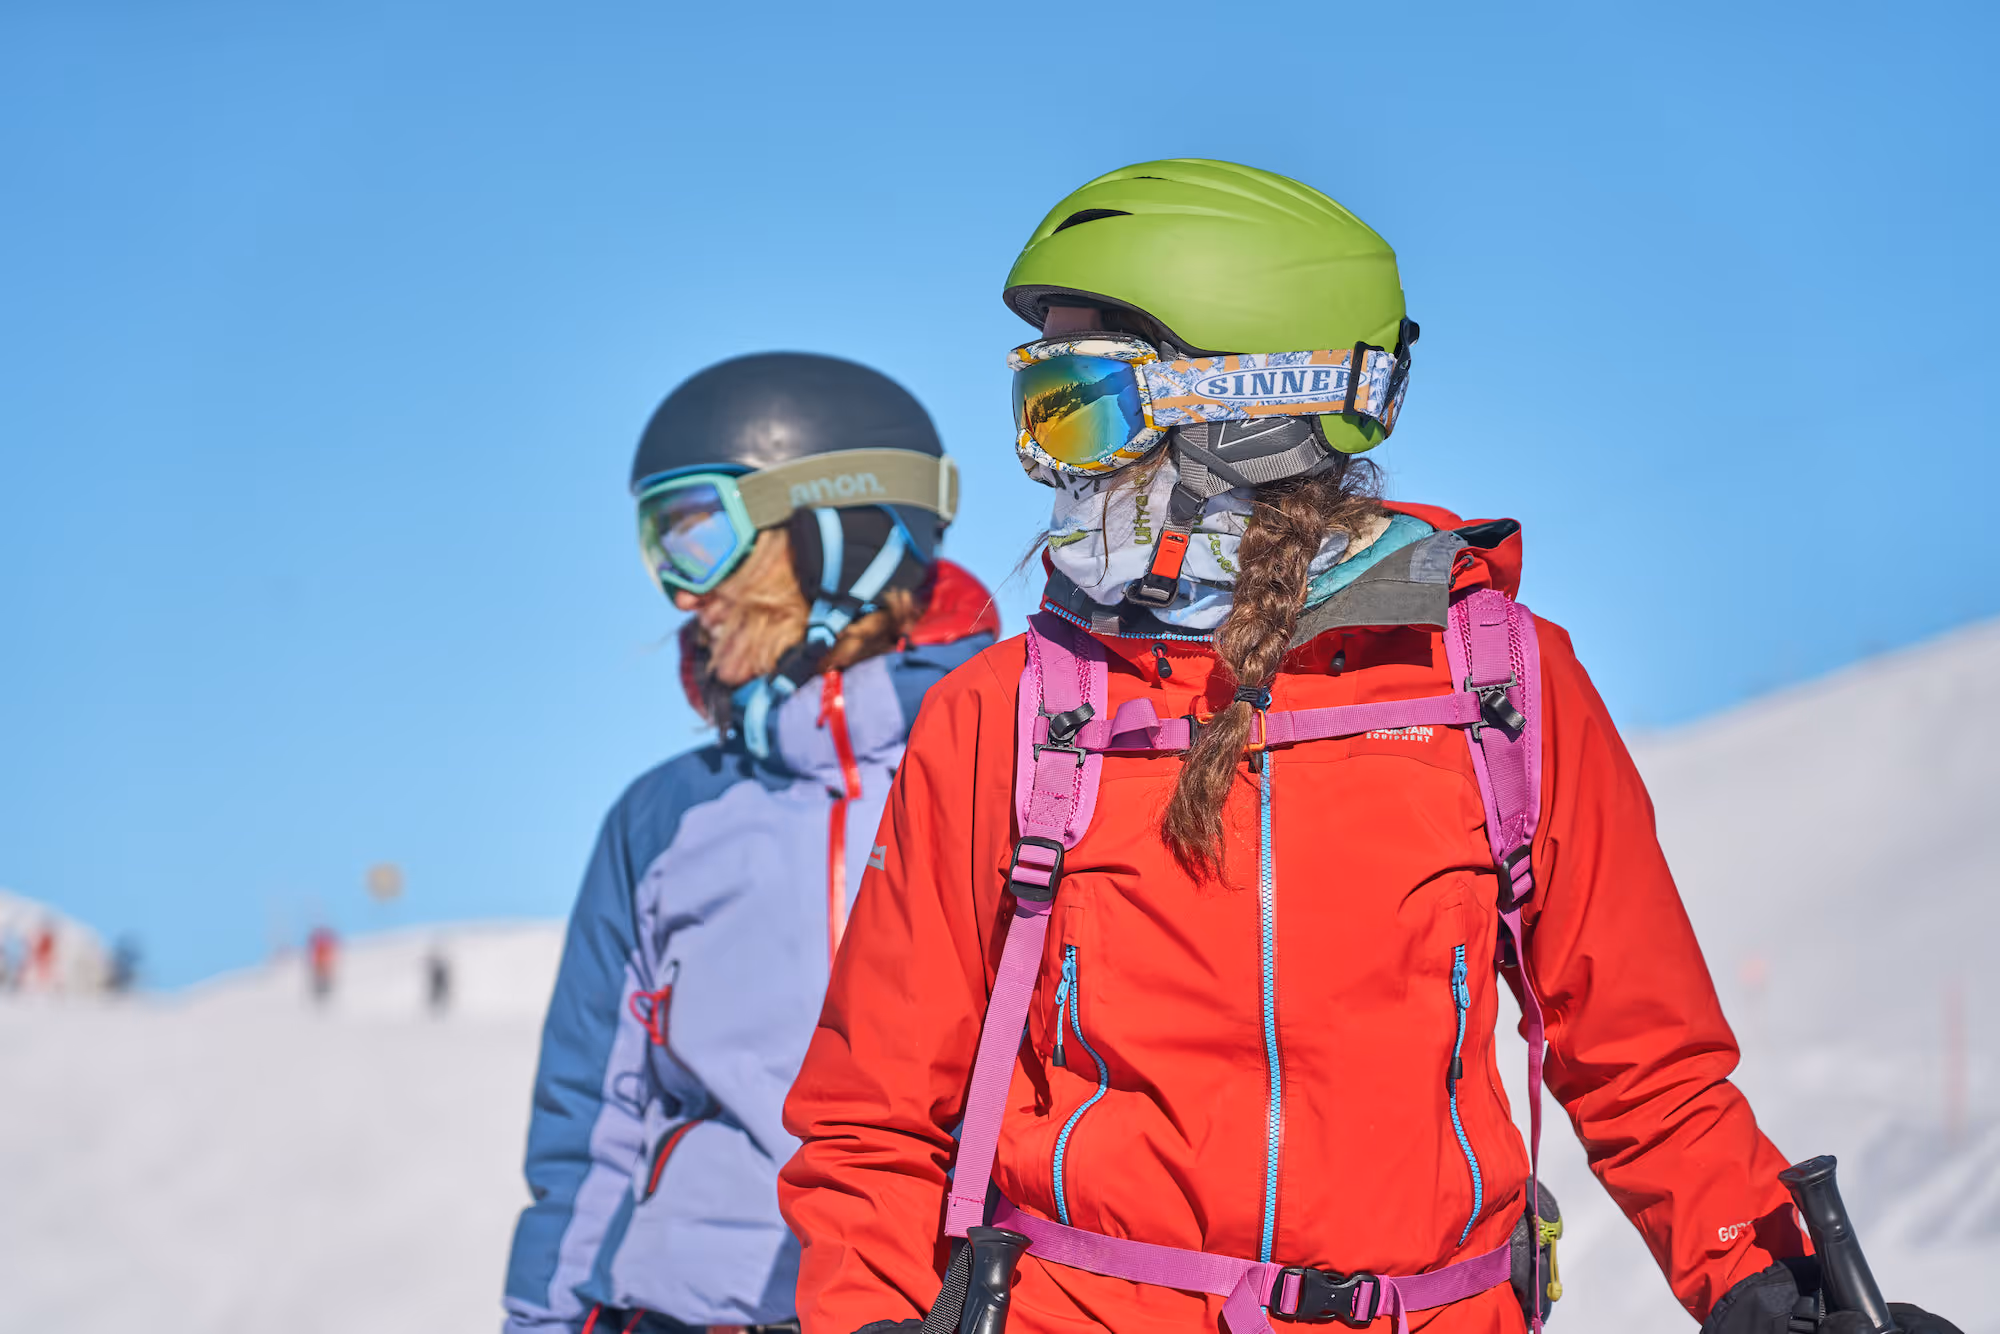
Trying to decide if it is for you? Lottie has documented her first week of learning to ski here in Kals am Grossglockner.
The first challenge when it comes to learning to ski is the equipment. As I tentatively stepped into the rental shop I was grabbed by a stern looking Austrian lady and marched downstairs. The array of gear was mesmerising and the lady perused the aisle of gleaming boots before selecting a pair she deemed perfect for me. I always thought putting on shoes was pretty easy-until I tried to put on ski boots. The thick plastic is held together by a number of buckles, and after a ten minute ordeal of trying to squeeze my foot in, and protesting they were to small, my foot finally slid into place. The lady smiled as she tightened the buckles, gleefully telling me, yes it is supposed to hurt. This was going to be a long day.

Having collected my skis and matching helmet, I was kitted out for the slopes. Trying to look like a pro, I slung my skis over my shoulder (nearly destroying the display of sunglasses behind me), and stumbled my way out of the shop. I met my instructor for the day and the rest of my group: All adults, ranging in age from twenty to sixty. We huddled nervously, shifting in our tight ski boots. Our first lesson was to put the skis on. Again, not such as easy feat. Once clipped in, your feet are locked into place, and a whole new level of instability reigns. Once I had overcome the challenge to remain standing, we were taught how to side step up the hill. We learnt how the sharp edges of our skis grip into the snow, whilst the smooth underside allows you to slide swiftly down hill. We also learnt how to get up when you inevitably fall due to the excellent sliding ability of your skis!

Once we had mastered the ability to remain standing for a while. We proudly side-stepped half way up the baby slope. We were instructed in the technique of ‘snow plough’. Basically, you slide down the hill with the front tips of your skis pointing towards each other. This allows you to control your speed and, in theory, allow you to slide gently to the bottom of the hill. A degree of hilarity ensued amongst my group as we inevitably tripped ourselves up by crossing our skis. Or didn’t quite manage to achieve the snowplough position, instead pointing our skis straight down before slipping into a tumble as we lost control of our speed. But after a few runs, I felt much more secure and in control. I can do this!

The button lift is the first type of lift you are introduced to on the slopes. They are usually found on beginner slopes, and are supposed to provide an easy, pain free ride to the top of the hill. As our instructor led us to the button lift, we watched as knee high children easily grabbed the rubber seat, jammed it between their legs, and began a smooth glide to the top of the hill. As my turn came round, I gingerly slid into place. I missed the first button, the second I grabbed at and it jolted me forwards. My skis dragged behind me as I fell into an unglamorous super hero pose, arm nearly popping out of its socket, as I was slowly pulled up the hill. To preserve my dignity, the lady in charge of the lift stopped the buttons rotating. I regained my feet and gave her the thumbs up before settling into an easier position, skis parallel and sliding thankfully in the right direction.
Day three of lessons: Having survived the trauma of the button lift we were ready to advance from the snow plough. By this point, I could successfully navigate the perils of the button lift, and make my way down the baby slope pretty confidently using my snowplough to help me slow down and turn. It was time to move onto parallel turning. This required a button lift to top of a slightly steeper blue slope. Our instructor showed us how to initiate the turn by lifting the pressure on our inside leg and leaning into the turn. With our hands out to the side we followed his tracks like a line of ducklings. At first it was difficult to get away from the snowplough technique, but gradually I felt my skis gripping at the snow and wanting to turn as I lifted my legs and shifted my weight.

At the end of day four, we were deemed ready to leave the baby slopes and head higher on the mountain. It was nerve wracking standing at the top of the run as confident skiers flew past with ease. But I took a deep breath, stuck my hands out in front of me, and tried to remember everything I had learned. The thrill of soaring (well in my head I was soaring) down the slope was like nothing I had ever experienced. When the group reached the bottom we were all stoked and raring to go for our next run. We had transformed from nervous wobbly ducklings on day one to relatively confident, still quite wobbly, swans. Our grins said it all. We were hooked.

Having a dog accompany you is not an essential part of learning to ski, but we found that it helped a little having a four legged friend watching our every move!
If you are interested in learning to ski, then check out WearActive winter holidays.